They're DONE!!!
We finally did it! We got them done!! Just three hours before I had to drop my Mommy off at the airport for her to fly home :( I'm going to miss her so much- there's no way I could have ever done this without her and it was so great to have her here to troubleshoot and share the workload and even just chat with while we worked. I felt really badly that we were working until the 11th hour, but I treated her to a gel manicure afterwards so hopefully she'll forgive me.
So last time I told you about the stairs we'd just papered them. And then we took a break from them to paint and do baseboards. Well- I say "we" lightly. I was a support trade- my Mom did almost all the painting, and she did the bulk of the baseboard cuts since my proficiency with a mitre saw was nil. I ran around getting pencils and remembering numbers and doing what I could to try and help it go smoothly.
So once all that was done we finally got around to staining the stairs. First we tried to fix some spots that got a bit ripped up while we did the walls.
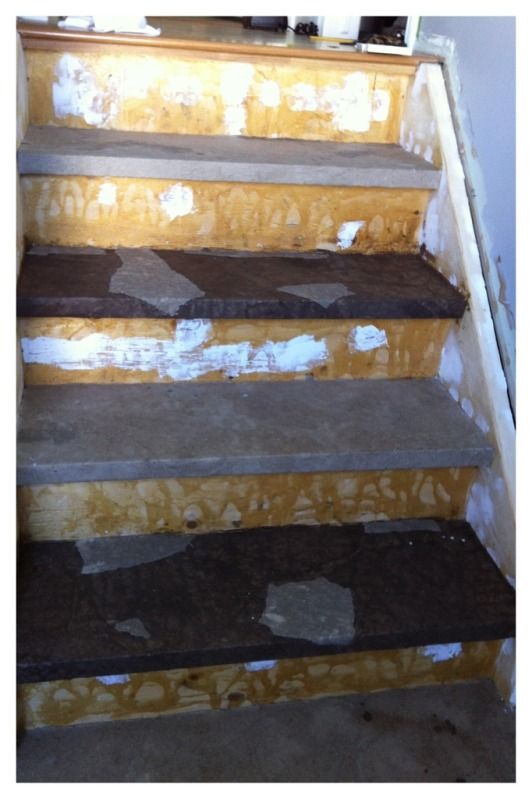 |
| The stairs with patches on them. |
Hard learned lesson: straight glue does not absorb stain. We tried to glue some patches down with straight white glue- which worked- but then when we stained the patches were painfully obvious, because the stain wouldn't absorb. I'll admit it: there's no pictures because I was freaking out- it's not something I wanted commemorated. But once again my Mom came to the rescue: she suggested that if we stippled on some acrylic paint in a similar colour nobody would be the wiser. So we stopped at Michaels and picked up some Folkart paint in Raw Umber and stippled it on. You really can't tell. Crisis averted.
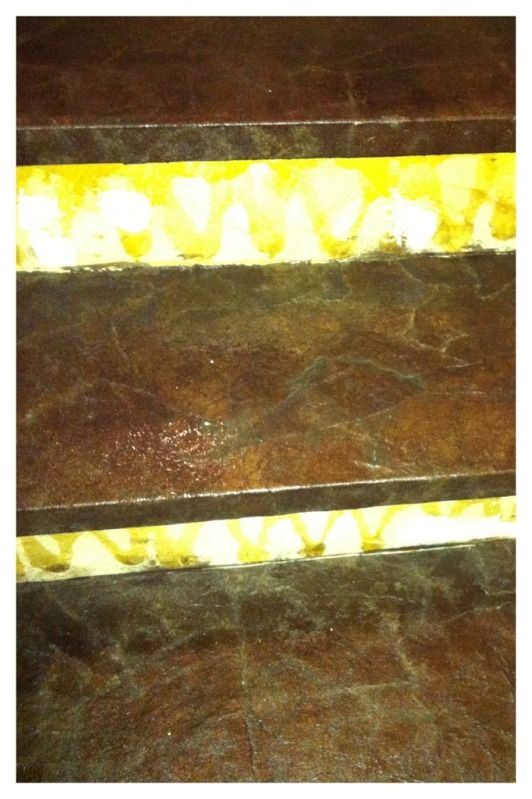 |
| Stained stairs with paint used to blend in some of the patches. Can you tell where? |
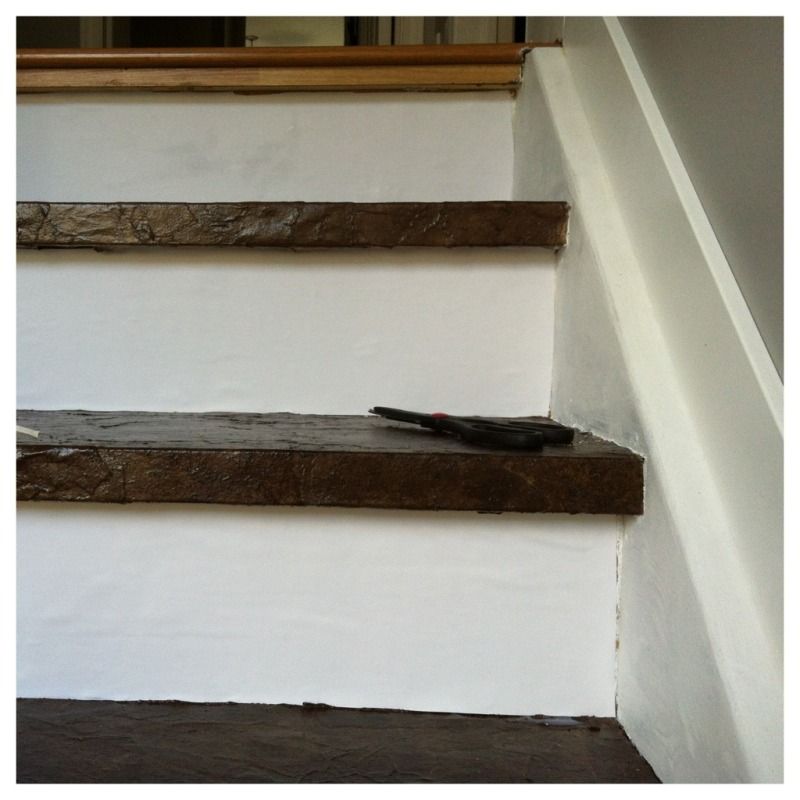
The stain was applied using one of the dollar store brushes we used to apply the glue and paper in the first place. Once it was on and looking even we went ahead and applied 3 coats of poly. We used the MinWax Oil-Modified Waterbased Poly- and it's working really well. It doesn't smell bad and it's super easy to clean up.
Once that was done my Mom primed the stringers on the stairs. We opted to prime them first because they were full of uneven bits and knots- and even with them sanded down to bare wood and the holes filled we were worried they'd bleed through. So she primed while I painted trim in the livingroom.
Then it was on with the baseboards and the risers!! Mom attached baseboard while I cut and attached paintable wallpaper to plywood risers.
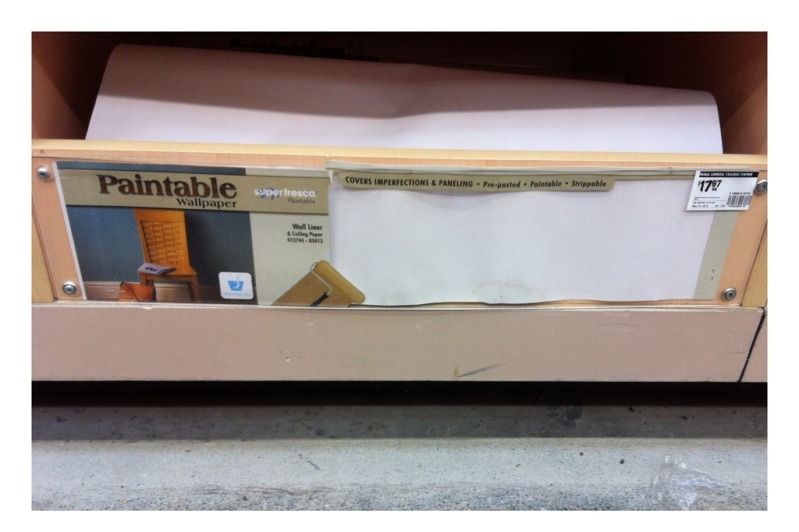
While looking for riser options we considered getting panelling and cutting it to size- but it was expensive!! 30$ for one sheet that would only get us four risers. And we'd need a saw to cut it. Then I remembered seeing a post on Pinterest about how someone had used textured paintable wallpaper to cover up their risers. I loved the idea, but Hubs is what some would call stringent in his desire for no "frillies". And something told me that no matter how much I liked the look of it, if I put herringbone or damask on the risers he'd have my head. But! I found this:
It's flat wallpaper that is meant to go over paneling! How great is that?! But I discovered that installing wallpaper on risers is not the same as installing it on the wall. Even though the paper is pre-glued, it was impossible to use it that way because the paper because very floppy and impossible to work with at the angle I was trying to work at. So I instead opted to use wallpaper paste in a bucket.
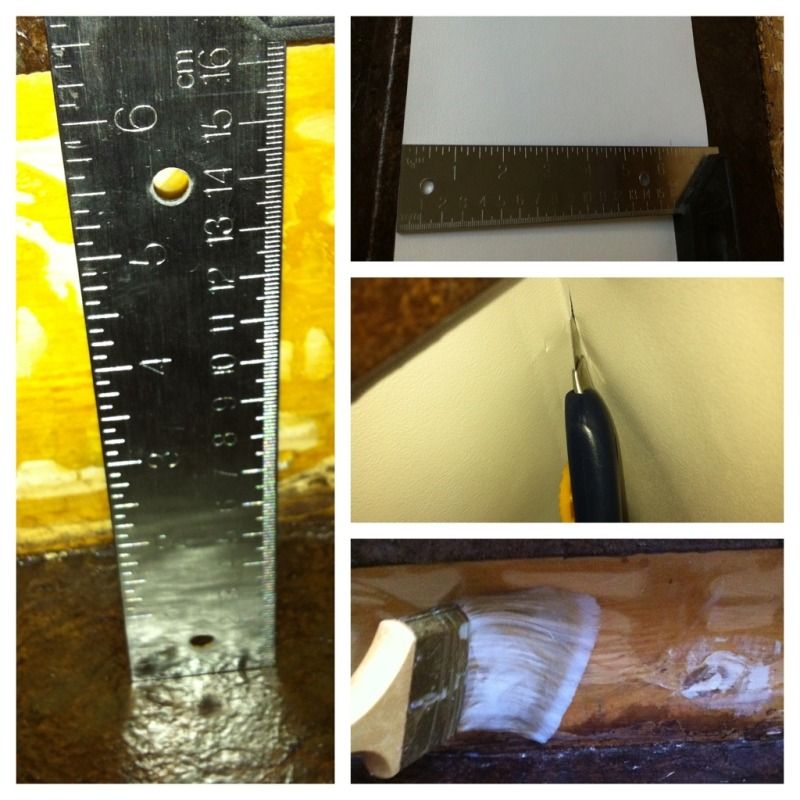
My basic method was measure; measure; cut; dryfit and trim; paste in place. First I measured the height of the riser and subtracted an eighth of an inch to give myself some wiggle room. I'm going to say it one more time: nobody stares under your stair nosings! (That said- if I know you in real life and I find you with your head under my stair nosings we will have words!) I then measured a line on the paper and marked it with a pencil lightly. I cut that out with scissors- I was able to get three risers per wallpaper width. I then popped the length in and dry fit it in place. This gave me a bit of overhang on each end, which I pushed into the corner with my putty knife and then trimmed it with an xacto knife. Once I was happy with the fit I just pulled out half the paper, pasted behind it, fit it back in place, and then did the other side. In!
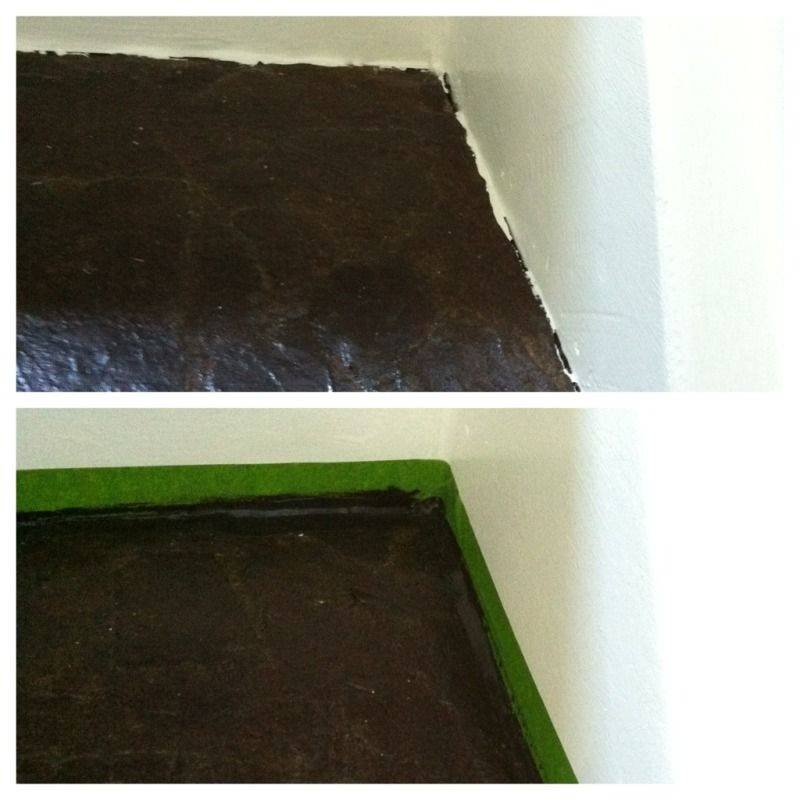
Except that no matter how nicely I trimmed the paper, there was still a gap at either end.
No matter. That's what paintable caulk was invented for. A little in the corners and we were good to go!
Finally- we could paint it all! Two coats of Kilz Pro-X untinted semi-glass paint later we were ALMOST done!! (I know- these things don't seem like they'll ever die, do they?) The truth of the matter is that 99% of our efforts on these stairs were because we did NOT have paint-grade anything on the stairs. So we spent untold amounts of time just getting up to the point where we could paint!
Last step: caulk. There was a gap between the stringers and the paper treatment- and no matter what we did we couldn't close it. When the paper dries, it shrinks. So we decided the best solution would be caulk. They sell brown caulk for windows and doors at Home Depot- so we got a tube of that.
Much better. And once the additional coats of poly are on and the sheen is the same- you can't even tell. After I dropped my Mommy off at the airport (and cried all the way home! I may be 24- but I still need my Mommy!!) I came home and pulled all the tape off, sanded down all the stairs very lightly, and put on another coat of poly.
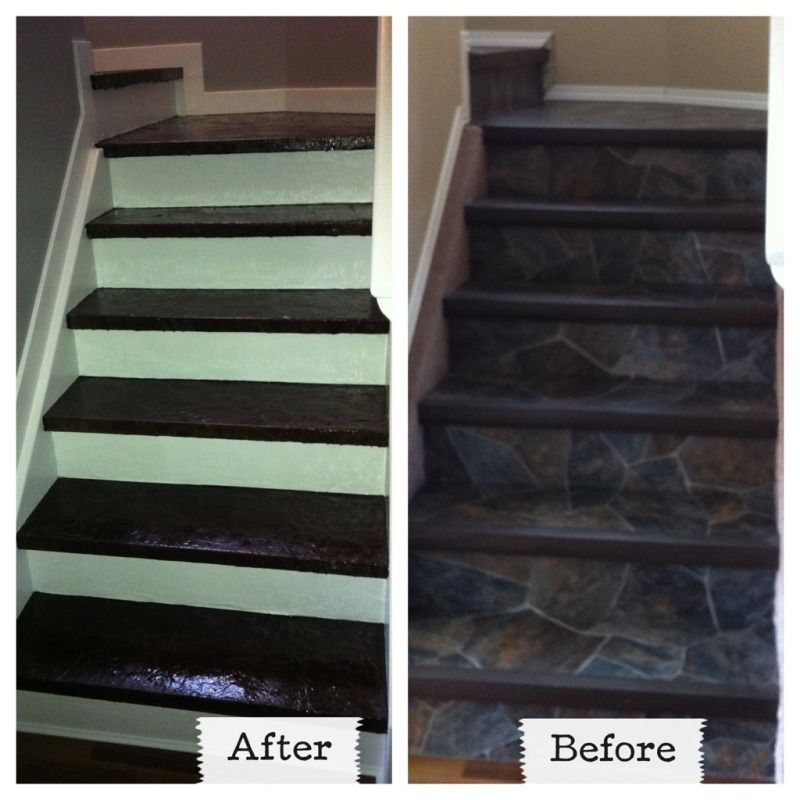
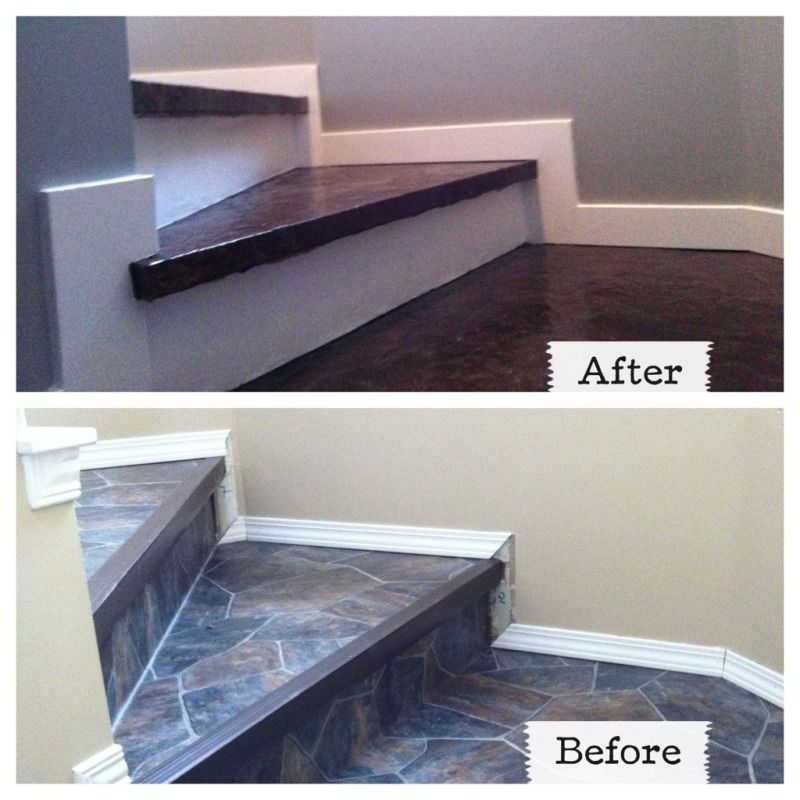
Ready? You're going to lay an egg when you see the difference.
Can you believe they're even the same stairs?!
Isn't the difference incredible?! I have blog worthy stairs!! No more lino and carpet!! I can't believe we got it done- but we did! And they look fantastic if I do say so myself. What do you think?! A big thank you again to my Mommy- I couldn't have done it without her and I'd have torn my hair out even attempting it. I'm going to miss her so so much! Christmas can't come fast enough.


Oh honey, they look so beautiful! I can't believe the transformation. I was really nervous about the brown caulking (to be honest I was nervous about every step in the process!) but it worked perfectly. Enjoy your newly transformed space! I love you with all my heart and I miss you so much. xoxoxo
ReplyDeleteAmazing job on these stairs, Lana! You can tell that a lot of hard work went into these. Let us know if you need any extra product or tips for another project. - Laura at KILZ Primer and Paint
ReplyDeleteThanks Laura! My next big project is my kitchen. I'll probably go through a gallon or two of untinted Pro-X there too. So much trim to paint!
Delete