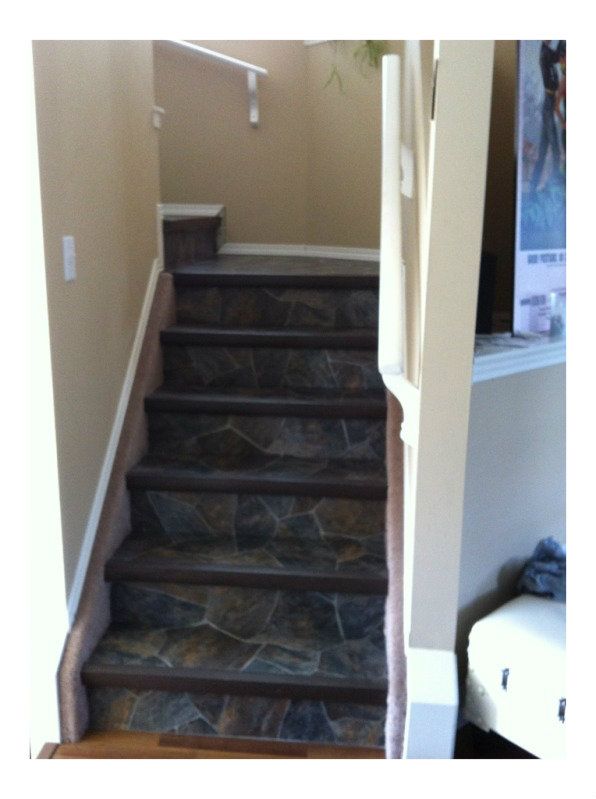
So it's been brought to my attention that the pictures I posted in the
Stair Reveal look green. My stairs aren't green! Promise!! So I took more pictures in broad daylight. But I figure if I'm going to post more photos, I might as well give you one easily referenceable (it's a word!) post about how I took this:
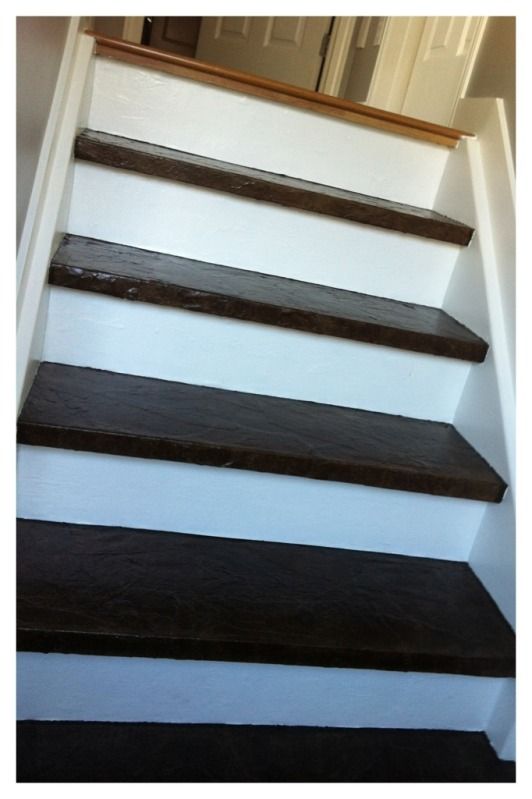
And turned it into this:
For 200$ ish. Minus the baseboards- but I'd say that probably only added about 20$ to the total materials bill.
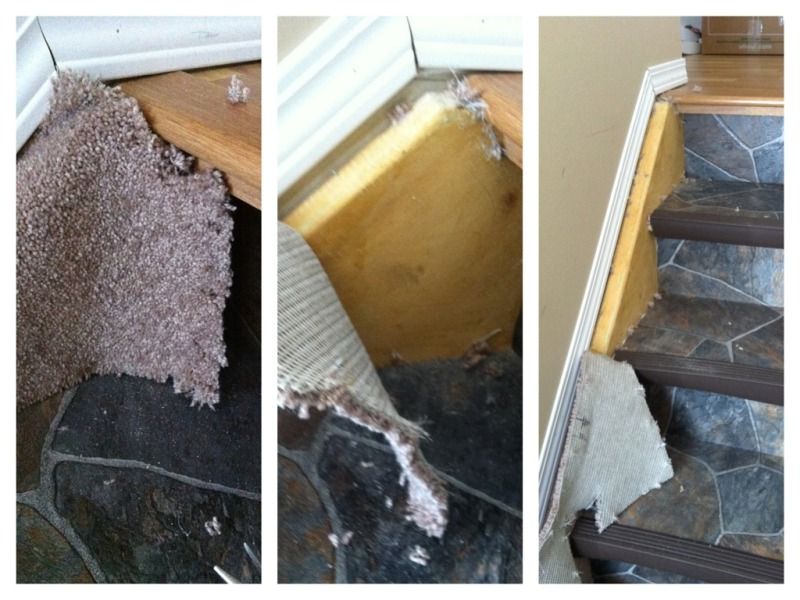
So- first things first. As you can see in those horrific "before" photos, the stairs were covered in lino on the risers and treads, and the stringers were covered in carpet. Gross. So the first order of business was to tear off the carpet, and then the lino.
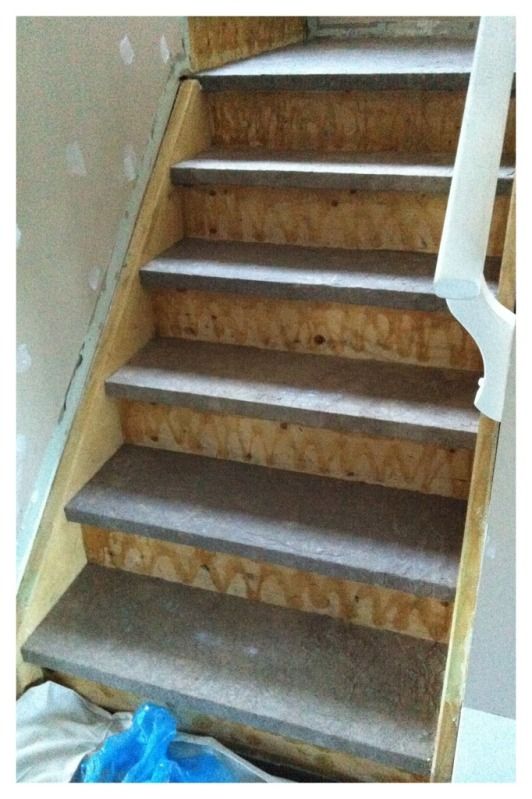
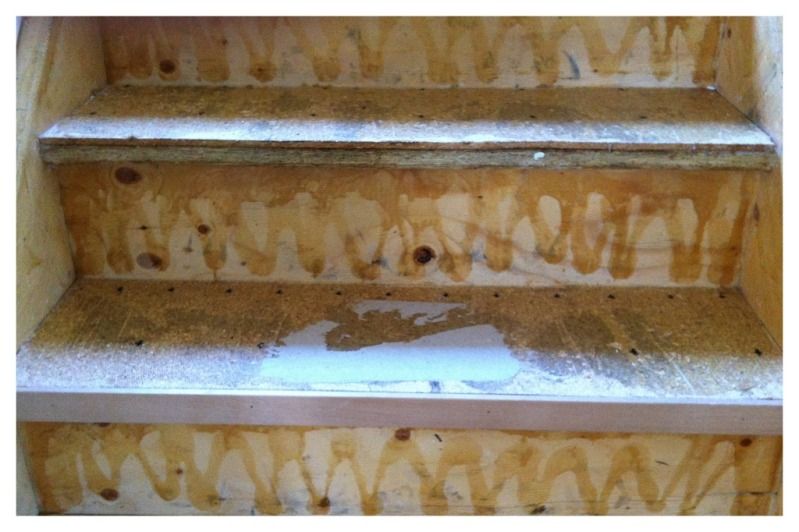
As you can see, both came up relatively easily- thank heavens. The most painful part of the tear down was pulling all the staples from the carpet out of the stringers. We also ripped up all the "baseboards". Which left us with this beauty:
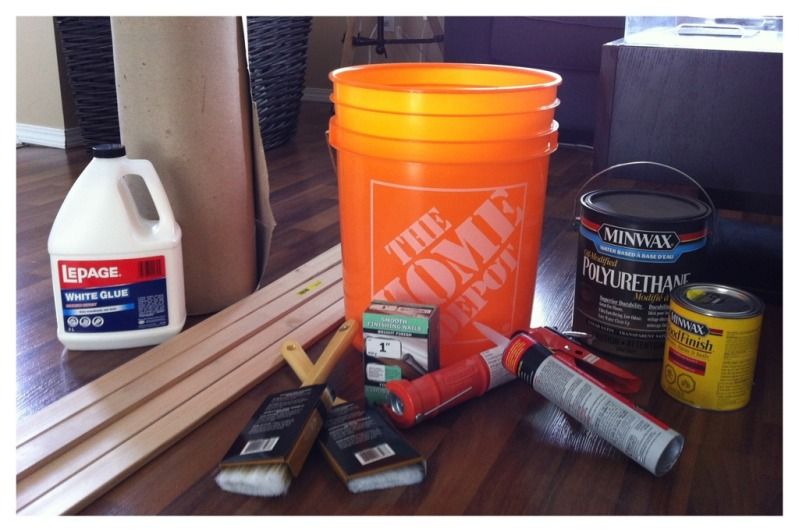
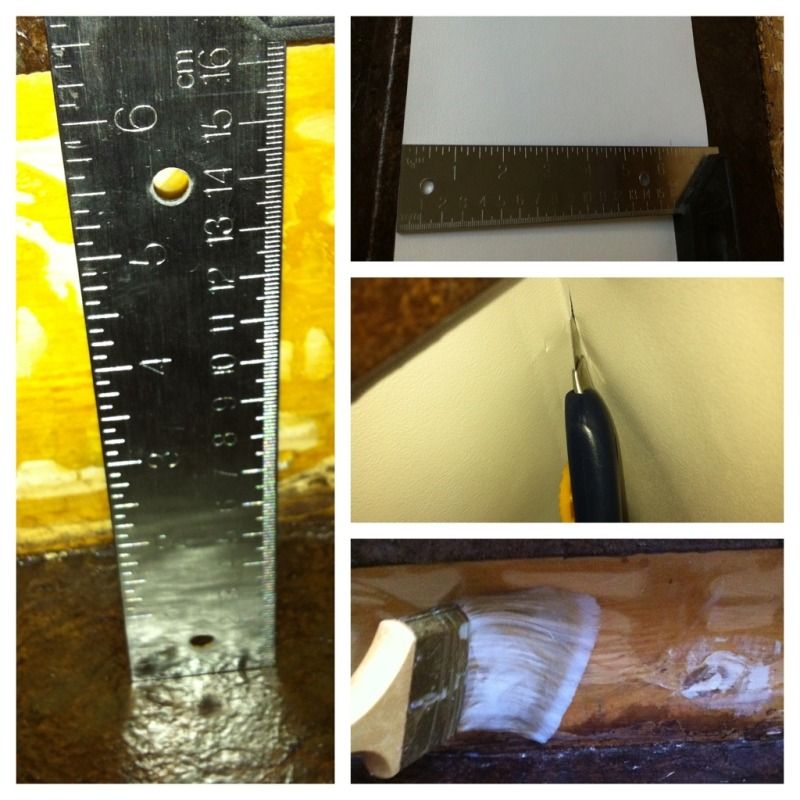
There is a bit of lino left there because there was some tacky residue left behind on the stairs and it was like walking on human flypaper- and that made getting up the stairs rather unpleasant. Next step was fixing the nosings edges, as our stairs were builder-grade and meant to be carpeted. Which means they were built out of several layers of press board and had no smooth edges. So we went to Home Depot and gathered our supplies. We ended up returning with this:
A gallon bucket, a roll of dry sheathing, a 3L jug of white glue, hemlock trim, two dollar store paintbrushes, a caulking gun, PL400 construction ashiesive, paintable caulk (not pictured), brown caulk (not pictured), 1" smooth finishing nails, a roll of paintable wall liner (not pictured), a can of MinWax wood stain in Special Walnut, and a can of MinWax Oil-Modified Waterbased Polyurethane in Satin. That's it- that's ALL we used on the stairs except for paint. And baseboard, but that was another project.
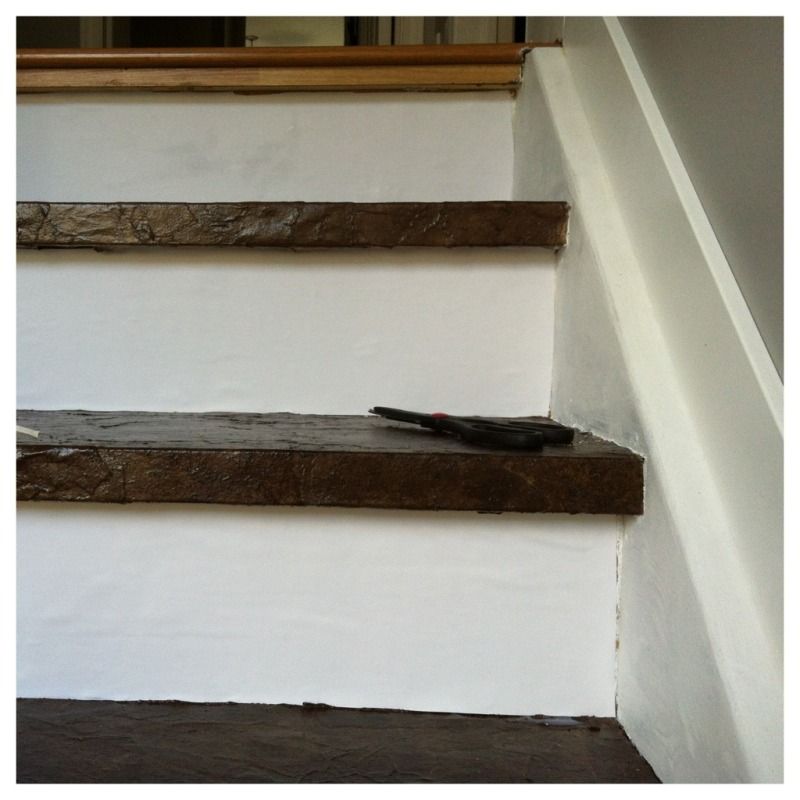
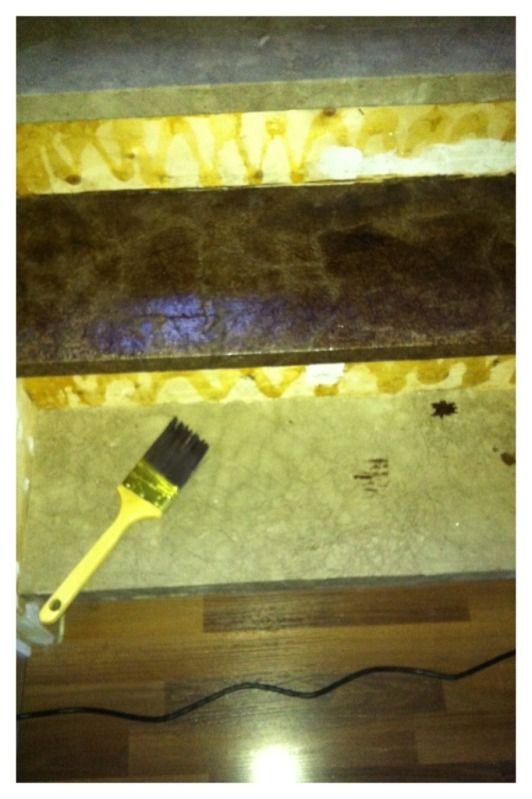
So first things first- we used the hemlock trim to rectify the gross edges of the nosings. We'd determined prior to visiting Home Depot that we needed 1.5" wide trim, so all we needed to do was cut it to length, pre-nail some finishing nails, apply some construction adhesive to the back, and nail it into place. Which gave us this:
As you can clearly see- the top tread in that picture has yet to receive it's new face, and the bottom one had the trim applied. It made such a difference in the look of the stairs already, covering those nasty edges. Having now finished the stairs I can confidently say that I am extremely glad we didn't skip this step! Our stairs have such a nice clean profile to them because of that trim- the whole look would be ruined without it.
Next it was on to applying the paper. This wasn't difficult, although hindsight is 20/20 and having done it once if I were to do it again I'd take a lot more care in applying the paper. Just make sure there's no holes, it's well adhered to the tread, and it's as smooth as you can get it. We followed the basic instructions given by
Rachael of Lovely Crafty Home. All this step required was to rip the dry sheathing into chunks the night before (really helpful on stairs where you don't want to be hauling a big bolt of paper up and down), and to mix a 3 to 1 solution of water to white glue in the big bucket.
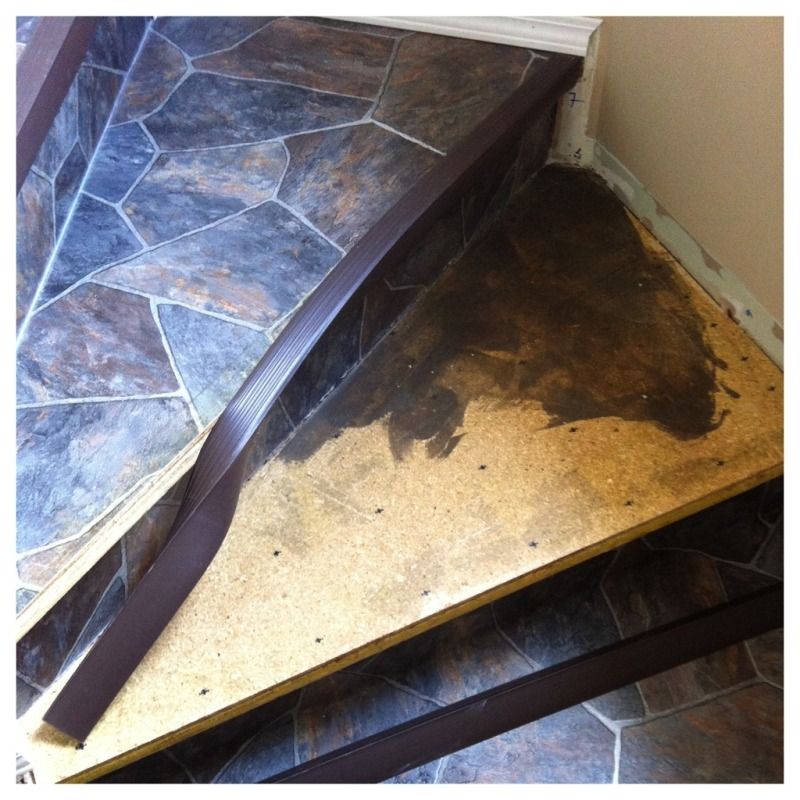
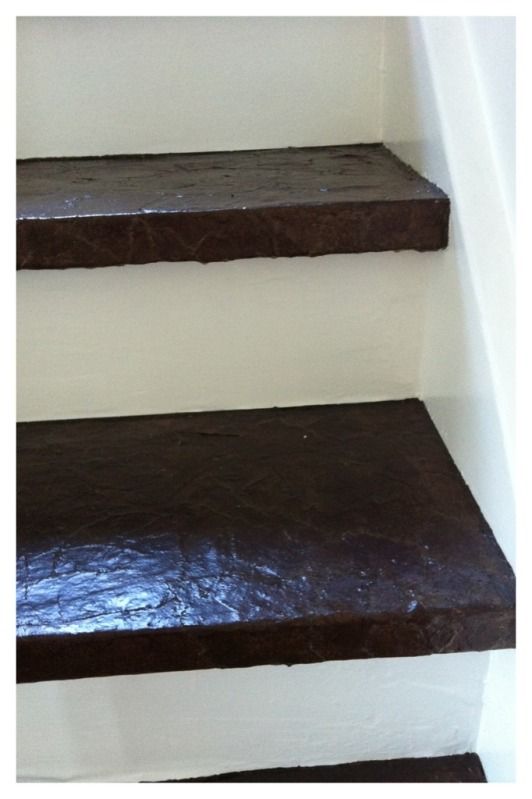
I apologize, I don't have any actions shots of this happening- glue filled hands and cameras don't mix. But there is no technique to this- just a method. Working down the staircase, and ever other tread (again so you can get up/down the stairs while it dries, and it's a lot easier to wrap the nosings if you can see under them) grab a chunk of balled up paper, dunk it in the glue mix, squeeze it out, and then smooth it on to tread. Use your dollar store paint brush to add more glue mixture and help you smooth. Try and get straight edged pieces from the edges of the roll along the back of your riser and the sides of your stringers, and marry them as closely as possible. If you're lucky and do this very carefully you can probably avoid the issue we had with a gap- but I'll discuss how we dealt with that later. Wrap large pieces around from the top of your tread to the underside of the nosing, and make sure it's well stuck. It doesn't matter how pretty the underside of your nosing is- nobody ever sees them. And once you've let them dry for a good 12 hours you're left with this:
Ah. I can't tell you the relief I felt when the paper was down and looked good!! So happy!! At this point we took a break from the stairs to paint the walls. The paper held up incredibly well to this, but we did end up tearing it in a few places. We went wrong in our attempt to fix these spots- what we should have done (again with the 20/20 hindsight!) was stain stairs first, including the areas where the paper was curling up, and THEN glued them back down. However we didn't- we tried to glue them down first with straight glue. Which resulted in the stain not adhering to the patches.
Applying the stain was easy- we used one of the dollar store brushes we'd used for the glueing to swirl the stain on. Remember- this isn't wood. There's no grain. So a circular motion seemed to give us the best coverage and colour distribution. The
Lovely Crafty Home guide states that the stain never really absorbs into the paper, however I think we used a different paper than she did- our stain dried. We ended up putting two coats on our paper to get the depth of colour we wanted. Once dry we decided to camouflage the areas that weren't accepting stain by stippling on some Raw Umber Folkart acrylic paint (procured from Michaels). At first I was really worried- it seemed incredibly obvious to me. However once it'd dried it was already blending together well, and the poly removed the only thing you could notice: the different sheen.
Poly was the final step for the treads! So simple a child could do it- simply stir up the poly, and paint a thin coat on the treads and around the nosings. Once again working every second stair if you need to get up or down them, however the MinWax Oil-Modified Waterbased Poly we used has a drying time of 2 hours- and they really are completely dry once that's up. So if you can lock yourself out of your upper floor for two hours, save the time and poly every stair! We did 3 coats before starting in on painting the stringers, risers, and installing the baseboards- but I'm slowly working up to putting 12 coats of poly on in total. At the time of writing this, I'm halfway there at 6.
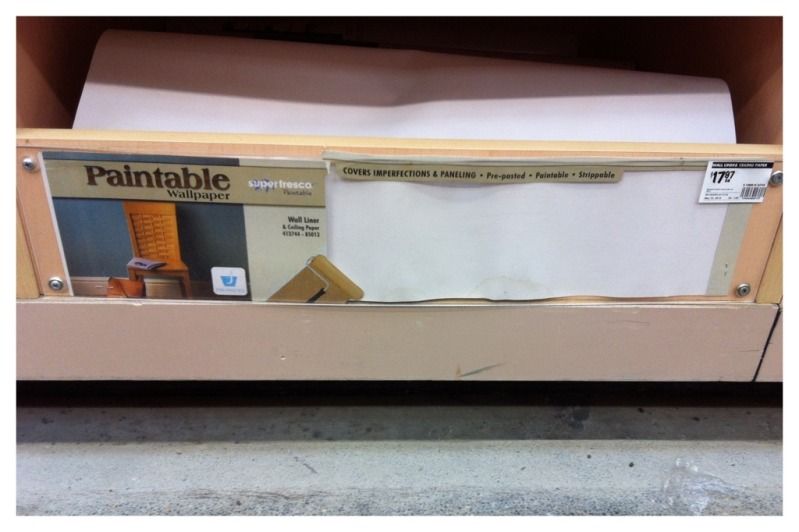
The stringers were filled and primed (due to a few big knots) before being painted. The risers had glue left over from the lino that refused to be moved (apparently a different kind than was used on the treads.) It was bumpy and uneven, so we spackled the risers leading from the main floor, but left the rest as it was a big time suck and those are the only risers anyone's going to stand staring at. Then we covered them all in this stuff:
Paintable flat wallpaper! At just under eighteen dollars a roll it was by far the cheapest option, with the easiest instal. I simply measured the height of the riser, cut an overly long length of paper, measured the height on to it, cut it out, dry fit it, and then used wallpaper adhesive to glue it in tight. The excess length I trimmed using an xacto knife.
Once that had dried I was still left with a bit of a gap between the paper and the stringers (one can only get so precise when freehanding with an xacto knife!) so I turned to my old buddy paintable caulk and filled the gap before painting the paper and the stringers in Kilz Pro-X untinted semi-gloss.
On the left you can see the gap left between the primed stringer and the wallpaper, and on the right you can see how nicely the paintable caulk hides my mess! So once all the extraneous elements were painted out in matching white, all that was left was the afore-mentioned gap between the papered treads and the stringers and risers. Remember how I said I wish we'd taken a bit more care when putting down the paper? This is why.
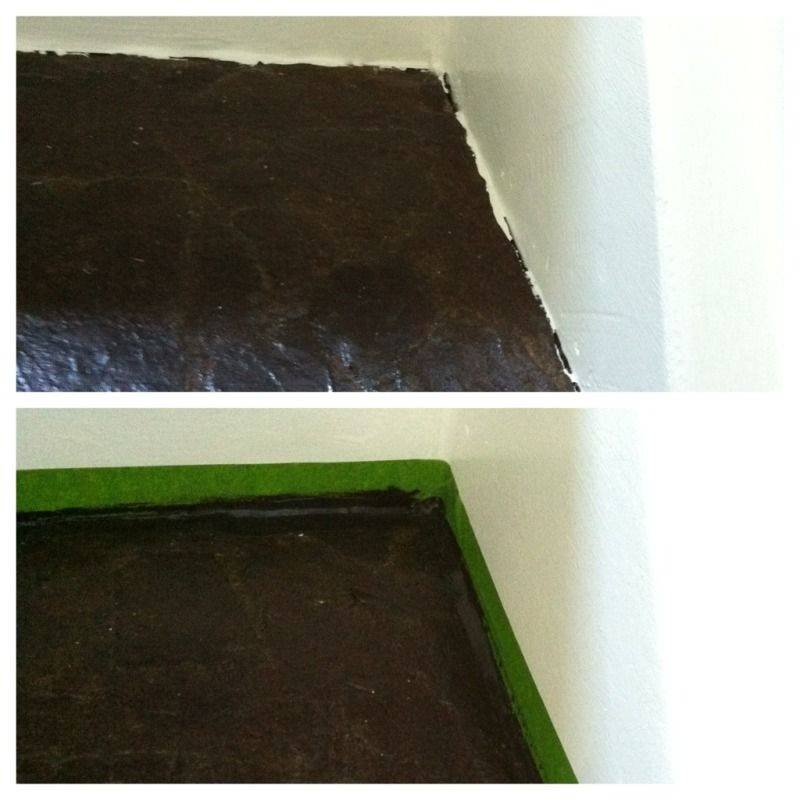
See the top? We couldn't get a clean edge while painting because we weren't careful about putting straight edge pieces tight against the stringers and risers. We fixed it by taping off the painted areas and using exterior brown caulking to fill it in. CAREFUL! Exterior caulk is not water-based, nor is it water clean up. I ended up having to run to Home Depot to get some special cleaner to get this stuff off my Mom's hands. It also helped to tap the still-damp caulk into place when it pulled away with the tap a tad. Again- I was really worried about how obvious it seemed until I waited for it to be dry and lightly sanded each tread with ultra fine grit sandpaper and then applied another coat of poly. It's amazing how everything blends together when it has the same sheen to it!
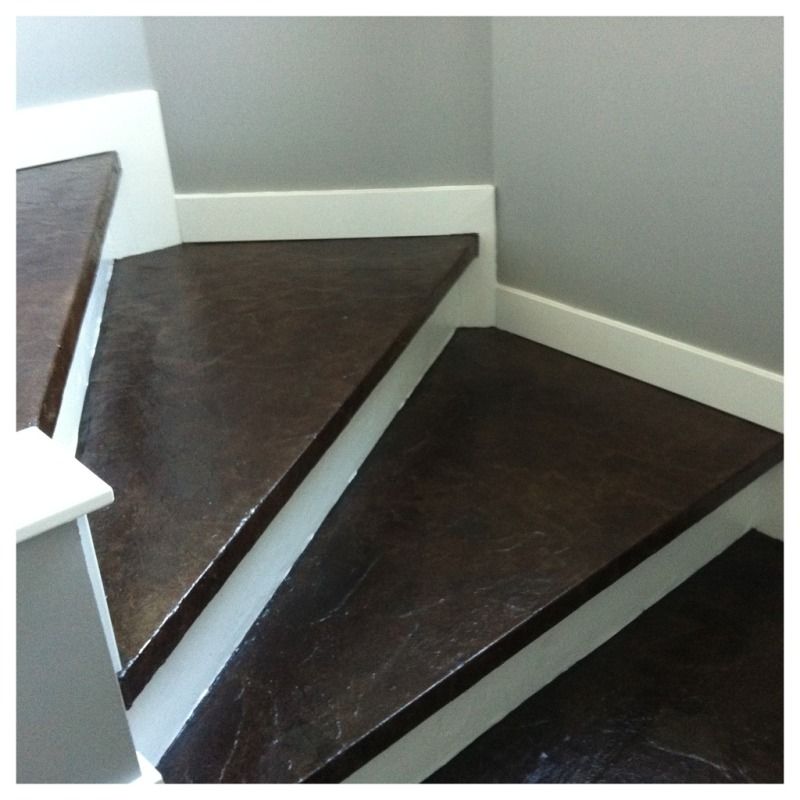
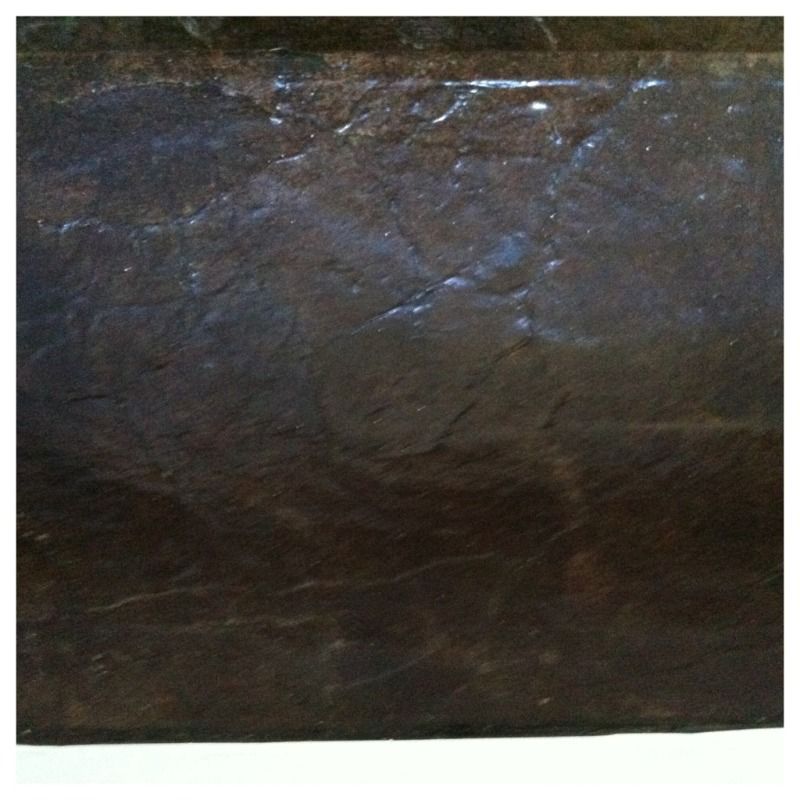
I was finally done! Here's a few pictures of the finished product:
That last photo shows you a close up of the finished tread treatment- including areas with the raw umber paint patch and brown caulk. Can't tell can you?! And just as a reminder where we started:
Pretty big improvement- don't you think?! Everyone whose walked into the house since the update has been floored (pun completely intended!) by the transformation. And for a little over 200$ and a can of paint? Not half bad if I do say so myself!
I hope I've inspired you to try a creative solution to something in your house that's bugging you. And if anyone has any questions about the process or wants more information- please don't hesitate to ask in the comments! I'm more than willing to help!


No comments:
Post a Comment