
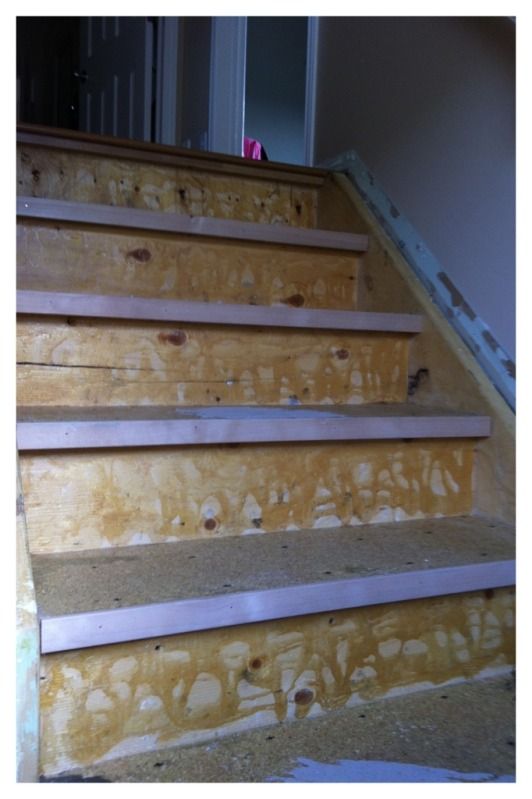
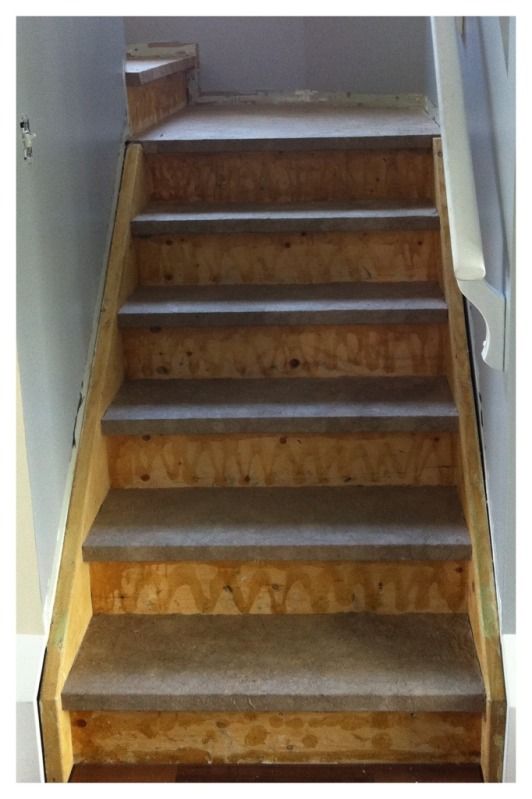
The next step was to actually get down to papering!! We started with the stairs looking like this:
Here's where we don't have any pictures. The basic method I followed was one I found via Pinterest on Lovely Crafty Home- the Ultimate Brown Paper Flooring Guide. This was the post that really got me thinking about doing paper floors on the stairs, and with her step by step commentary- I really felt like it was something I could handle.
Rachael suggested a 3 to 1 mix of water and white glue- so that's exactly what we used. She used brown craft paper, and we're using dry sheathing (both cheaper than any brown craft paper I could find, and I like the more woody look of it- it's a much more fibrous paper) but it worked just as well. I wouldn't mess with that. We did 6 cups of water and 2 cups of glue at a time.
There really isn't any technique to this- but there is a method. First- my Mom and I found it much easier to tear up the sheathing into bits before we started. Once you're in the thick of it your hands are full of glue and tearing paper would just make a huge mess. It also comes on a massive roll and there was no way I was going to get that up and down the stairs easily. So we spent one evening tearing and crumpling and tossing it into a recycling bag.
Second- When doing stairs, do every second tread- then let it dry. The dry sheathing falls apart a bit when it's wet, and we had just enough time to dunk it, squeeze it, put it place and smooth it down before it disintegrated. If we'd tried to walk on it while wet we'd have destroyed it. So in the interest of being able to sleep in our own beds, we did every second tread, and then the next day once the first set were dry we did the others. Once dry you can walk on them until you're ready to stain and poly.
And that's about it. Use your cheap paintbrush from the dollar store to paint on some glue mixture to the tread first. Then you take a piece out of your pre-torn bag, check to see if it has a straight edge (best for along the stringers, and along the riser edge) and then dunk it into the glue/water mix in the bucket, squeeze it out, and place it on the stair tread.
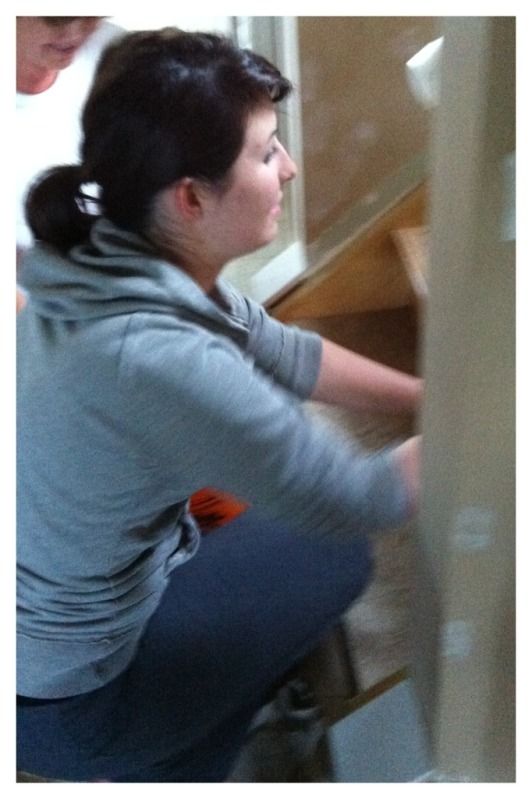 |
| Me, up to my elbows in white glue mix, papering the stairs. |
Repeat, overlapping the edges a bit and smoothing them together (the fibrous nature of the sheathing really allowed the pieces to be smoothed well) as you go. The paintbrush is also useful for this. Wrap pieces around from the top of the tread to the underside of the nosing- smoothing well. Don't worry about what the underside of the nosing looks like- you don't need straight pieces and you don't need to cover it all the way to the riser below. Nobody looks at the underside of your stair nosings. Trust me.
Continue this process, starting with the top tread and working your way down the stairwell. We tried it both ways- up and down, and the down worked a lot better. It's really hard to do the nosing from above.
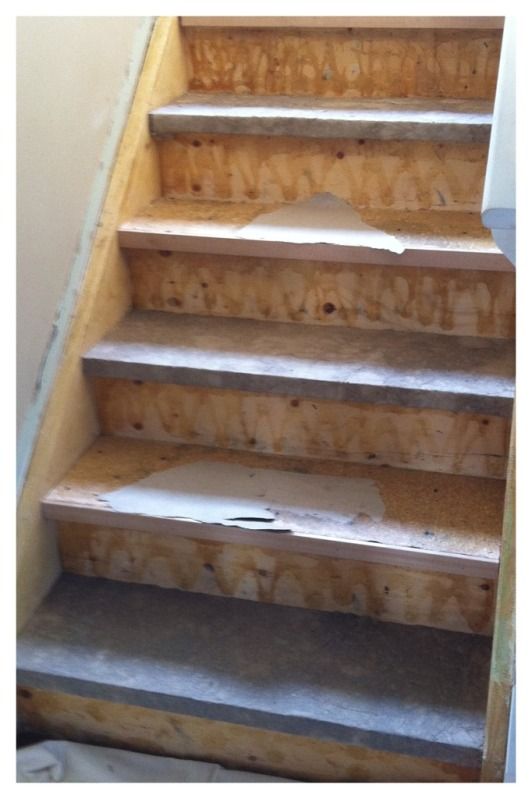
So after that we were left with this:
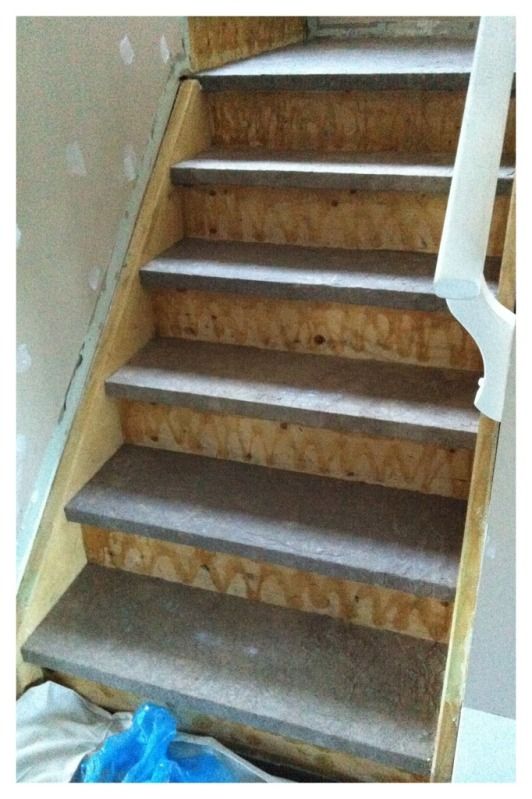
One more look?
So before we stain and poly we still need to put down the new base boards (as I'm sure you noticed in the before pictures- the previous owners couldn't cut a base board to save their lives- and it wasn't baseboard- it was window casing!) Then once we've got that under control we can go ahead and stain and poly. And I'll post about that when it happens too. The last step will be to cover the risers. We've figured out an easy and relatively cheap way to fix those, so I'll be sure to post about that process as well!
So my next posts will be about painting (and the lessons I learned from my Mom- the paint wizard extraordinaire) and baseboard installation. But the finished stairs aren't far away- hopefully!
Crazy! That's paper? It's cool. Looks good and I bet it will get you through however long to you need until you either move or replace. Right now you have a fair amount of time, but limited funds--so I think it's brilliant! And you have your Secret Weapon--Mommy. Good stuff, chica!
ReplyDeleteThat's paper! I'll be happy if it lasts two years- that'll give me time to save up to replace them if needed- but they're pretty durable without the poly even! Thanks Gemma!
Delete